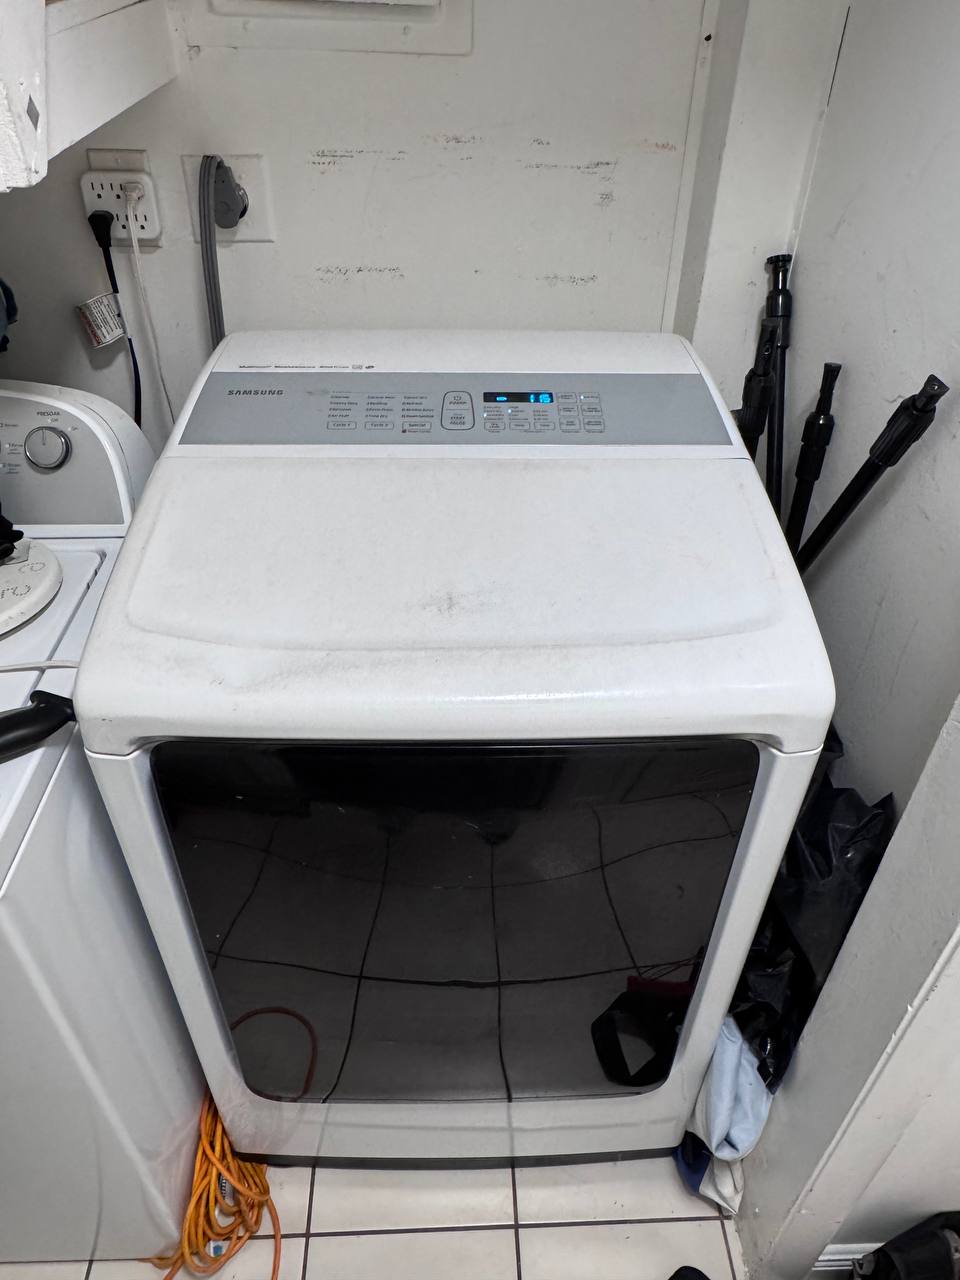
A homeowner in Hallandale Beach called our dispatch after their modern Samsung electric dryer suddenly stopped producing heat. The drum spun smoothly, the digital cycle timer counted down, and airflow was normal, but clothing came out cold and soaking wet. They suspected a burnt-out heating coil, but electronic dryers require deeper diagnostics before jumping to conclusions.
Initial Diagnostic Checks
In many no-heat service calls, the root cause is a broken heating element, an open thermal cut-off, or a blown thermal fuse. Our technician opened the cabinet and systematically checked every primary circuit component for electrical continuity using a digital multimeter:
Uncovering the Elusive Sensor Fault
Despite every mechanical safety device functioning according to specification, the electronic control board was not sending voltage to trigger the heater relay. In Samsung electronic dryers, the main control board relies on a negative temperature coefficient (NTC) thermistor mounted on the blower housing to monitor drum exhaust temperature.
At ambient room temperature (~75°F), a standard Samsung dryer thermistor should register approximately 10,000 ohms (10 kΩ). When our technician probed the sensor terminals, the multimeter read just 1.5 kΩ.
The Technical Cause: Because NTC thermistors decrease in resistance as temperature climbs, a drifted reading of 1.5 kΩ indicated to the dryer's microprocessor that the exhaust air was already over 160°F. Believing the dryer had reached target heat, the board deliberately withheld power from the heater relay to avoid overheating.
The Solution & Verification
With the culprit isolated, our technician removed the out-of-spec thermistor from the blower duct and installed a genuine OEM Samsung replacement sensor. Before reassembling the front panels, the new component was bench-tested and verified at an accurate 10.2 kΩ at room temperature.
After reassembly, the dryer was initiated into a standard timed cycle. The control board immediately activated the heater relay, current flowed through the heating element, and warm exhaust air was verified within two minutes. The entire diagnostic and component replacement took just 45 minutes, saving the customer the cost of an unnecessary heating assembly or control board replacement.