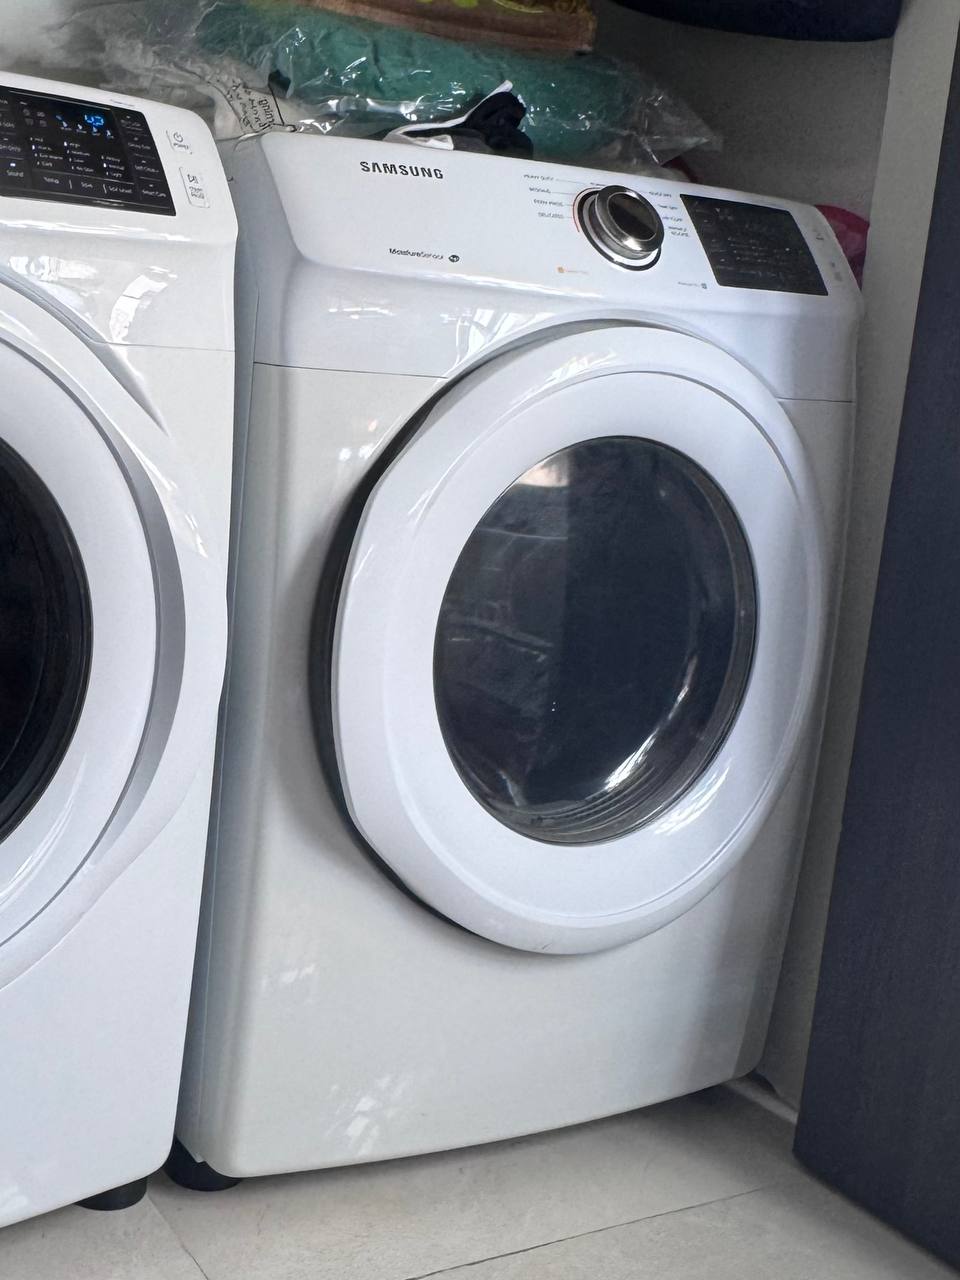
The Call: Damp Clothes in Hallandale Beach
A customer in Hallandale Beach reached out when their Samsung electric dryer stopped producing heat. The machine powered on and tumbled laundry as expected, but after a full 60-minute cycle, the load remained cold and wet. With busy work schedules and laundry piling up, they needed a fast, definitive solution.
This particular Samsung front-load dryer series is one of our favorite platforms to service. Its internal layout is exceptionally service-friendly, and through years of working across Broward County, we have learned that 99% of no-heat calls on this chassis stem directly from a broken heating coil inside the heater duct.
Diagnostic Steps: Testing the Heater Circuit
Disconnect Power and Access the Cabinet
We unplugged the 240V power cord and safely removed the lower front service panel to gain direct access to the heater casing located on the lower right side.
Isolate the Heating Element
We removed the wire leads from the heating element terminals to ensure we were measuring resistance exclusively across the element coil and not back-feeding through other board circuits.
Multimeter Continuity Test
A functional Samsung heating element typically reads between 9 and 12 ohms of resistance. Our digital multimeter displayed "O.L." (open loop / infinite resistance), confirming the nichrome wire coil had fractured.
Safety Component Verification
We also inspected the thermal cut-off fuse and high-limit thermostat attached to the housing. Both safety switches maintained proper continuity, confirming the element failure was due to standard heat fatigue rather than an immediate safety trip.
The Fix: Rapid Heating Element Replacement
Because this is such a common failure pattern on Samsung dryers, we always stock OEM Samsung heating element assemblies directly on our service vehicle. We presented the diagnosis and transparent pricing to the homeowner on the spot. Once approved, the actual swap was fast and smooth.
We removed the heating canister assembly, transferred the intact thermal sensors, seated the brand-new heavy-duty element, and secured all high-temperature electrical terminals. Before resealing the cabinet, we vacuumed out residual lint that had settled around the blower wheel and motor harness to improve airflow and extend the life of the new component.
Post-Repair Verification
After reassembling the unit, we ran a timed dry cycle on high heat. Within two minutes, our thermal probe verified steady, hot airflow entering the drum. The customer was thrilled to have their laundry routine back on track in under an hour from our arrival.