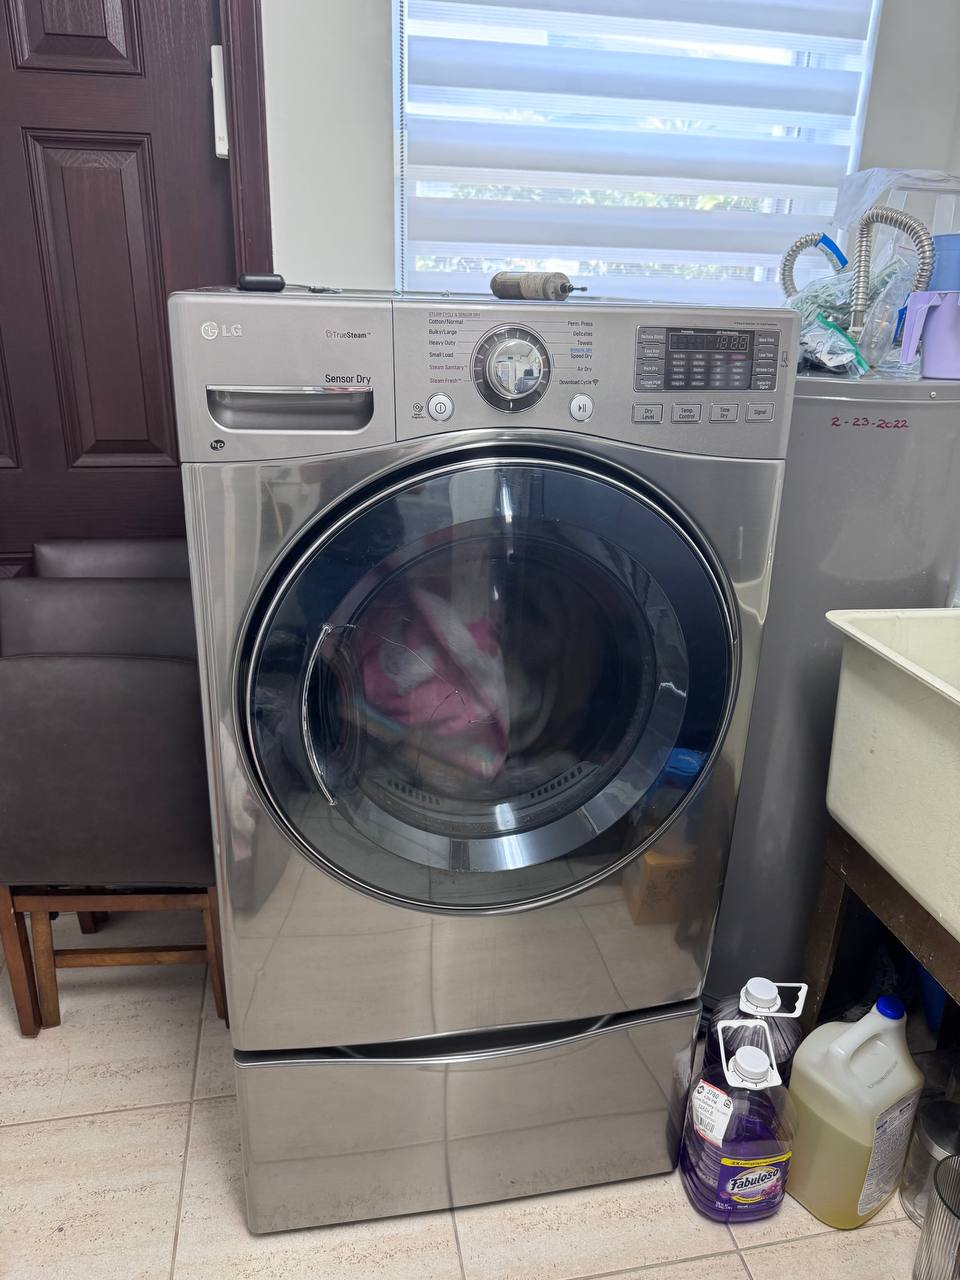
When a modern digital dryer starts acting possessed, it can catch any homeowner off guard. We were called out to a residential home in Sunrise, Florida, where the customer reported a bizarre and unsettling issue with their front-loading LG dryer: the drum started spinning the very second the door was closed, regardless of whether the power button was pressed or the control panel was completely dark.
The Diagnostic Process
The client demonstrated the symptom immediately upon our arrival. With the unit plugged into the 240V receptacle and the power turned completely off at the interface, closing the door immediately initiated full drum rotation. The heating element was not active, but the motor ran unchecked. The only way to stop the spinning drum was to pull the door open, breaking the mechanical door switch circuit.
For seasoned field technicians, this symptom profile points to a single, highly specific failure point. Having diagnosed this exact failure on numerous LG platforms throughout Broward County, we bypassed preliminary wiring harness and thermal checks and went straight to the heart of the electrical control system: the main Printed Circuit Board (PCB).
Disconnect Power & Access the Control Housing
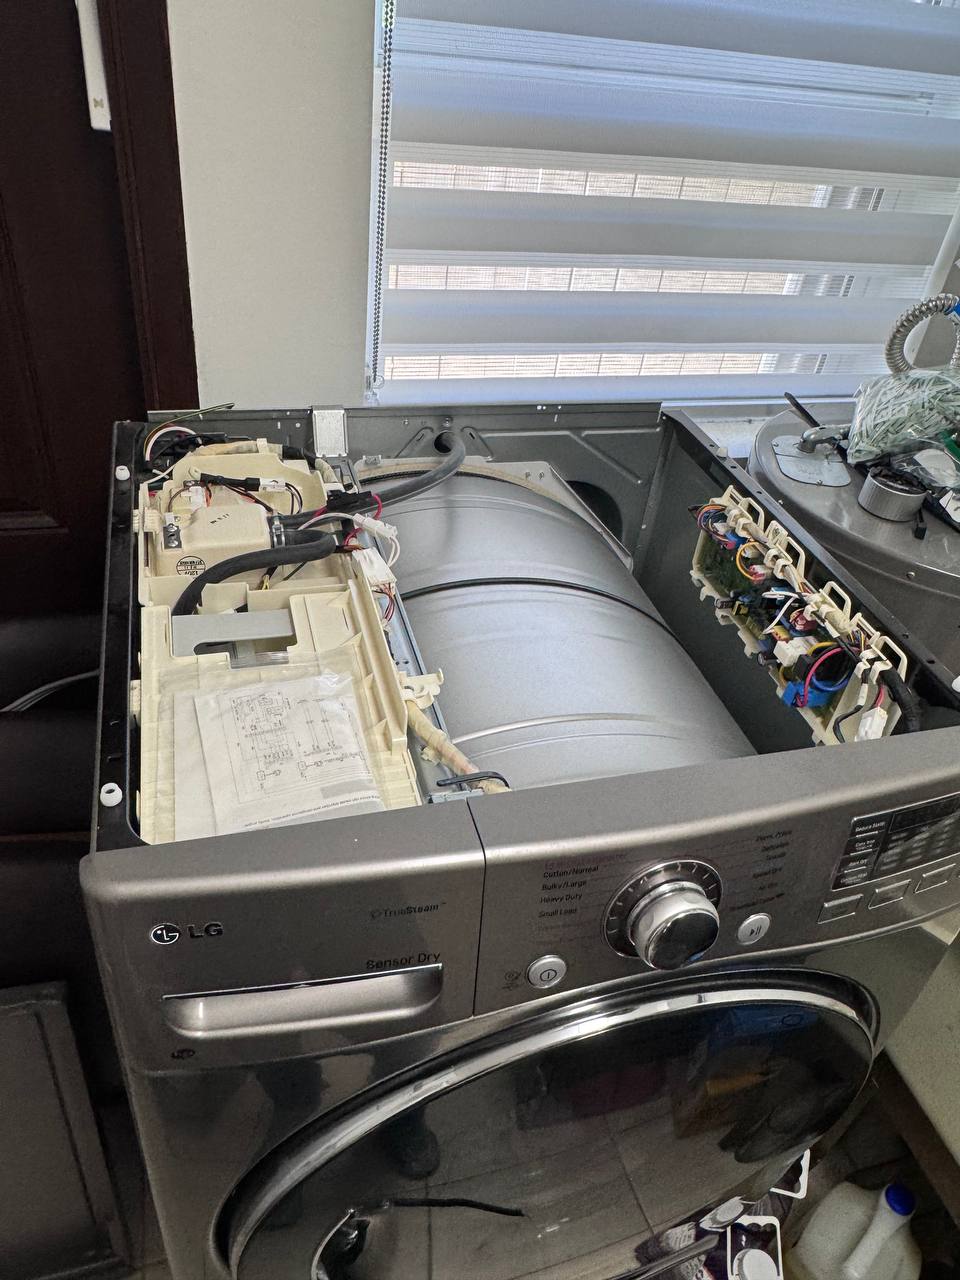
Unplugged the high-voltage power supply line and removed the top panel of the LG dryer to reach the main electronics assembly secured within its protective plastic tray.
Locate the Drive Motor Relay
Identified the primary switching relay responsible for sending line voltage to the drum motor windings. This high-amperage relay isolates the motor circuit until an active cycle is selected.
Multimeter Continuity Verification
With the board completely de-energized, we set the digital multimeter to continuity mode and probed across the relay's normally open (N.O.) load contacts. The meter beeped instantly with zero ohms of resistance. The internal metal contacts had arced and welded together in the closed position, permanently feeding current to the motor circuit whenever the door interlock switch completed the neutral return path.
Presenting Honest Repair Options
Most factory-authorized service providers simply swap out the entire PCB assembly, a method that is fast for the technician but unnecessarily expensive for the homeowner. We presented the Sunrise client with two transparent solutions:
- Option 1: Complete Control Board Replacement. Replacing the entire OEM main PCB module. Reliable, but includes substantial factory markup on unnecessary silicone and processors.
- Option 2: Component-Level Board Repair. Desoldering the failed relay directly from the circuit board and soldering in a brand-new, rated industrial-spec relay on-site.
We back both repair approaches with the exact same warranty coverage. Because our component-level board rebuild cost roughly half the price of a total board swap, the customer happily approved Option 2.
The Surgical Fix
With precision soldering equipment from the service vehicle, we carefully excised the board from its casing, removed the potting compound protecting the underside traces, and desoldered the burnt relay terminals without lifting the delicate copper pads. After thoroughly cleaning the board contacts with isopropyl alcohol, a brand-new OEM-spec relay was soldered into place and sealed against vibration and moisture.
The board was reinstalled, wire harnesses re-seated, and ground straps secured. Upon plugging the dryer back in and shutting the door, the unit remained completely silent—just as it should. We powered the console on, engaged a test cycle, and verified normal relay cycling, motor engagement, heat output, and emergency pause functions.